Visual Brand
- Color
- Typography
- Graphic Elements
- Photography
Photography is a key visual tool for our brand. It allows us to showcase our people, places and impact to connect with audiences far and wide. Capturing human reactions and emotions helps us paint the UC San Diego story.
Looking to bring your UC San Diego story to life?
University Communications offers professional photography and video services to support strategic campus communications—from branded campaigns and campus b-roll to portraits and event coverage. Learn more and request services.
The campus maintains a robust media gallery with photos created and curated by University Communications. These images are available for use in UC San Diego print collateral, digital communications and presentations.
Accessing the gallery is free and easy—just sign up for a PhotoShelter account using your UC San Diego email address to explore curated collections. For access to additional galleries, contact the University Communications PhotoShelter Administrator.
When sourcing, creating and selecting photography, here are a few things to keep in mind.
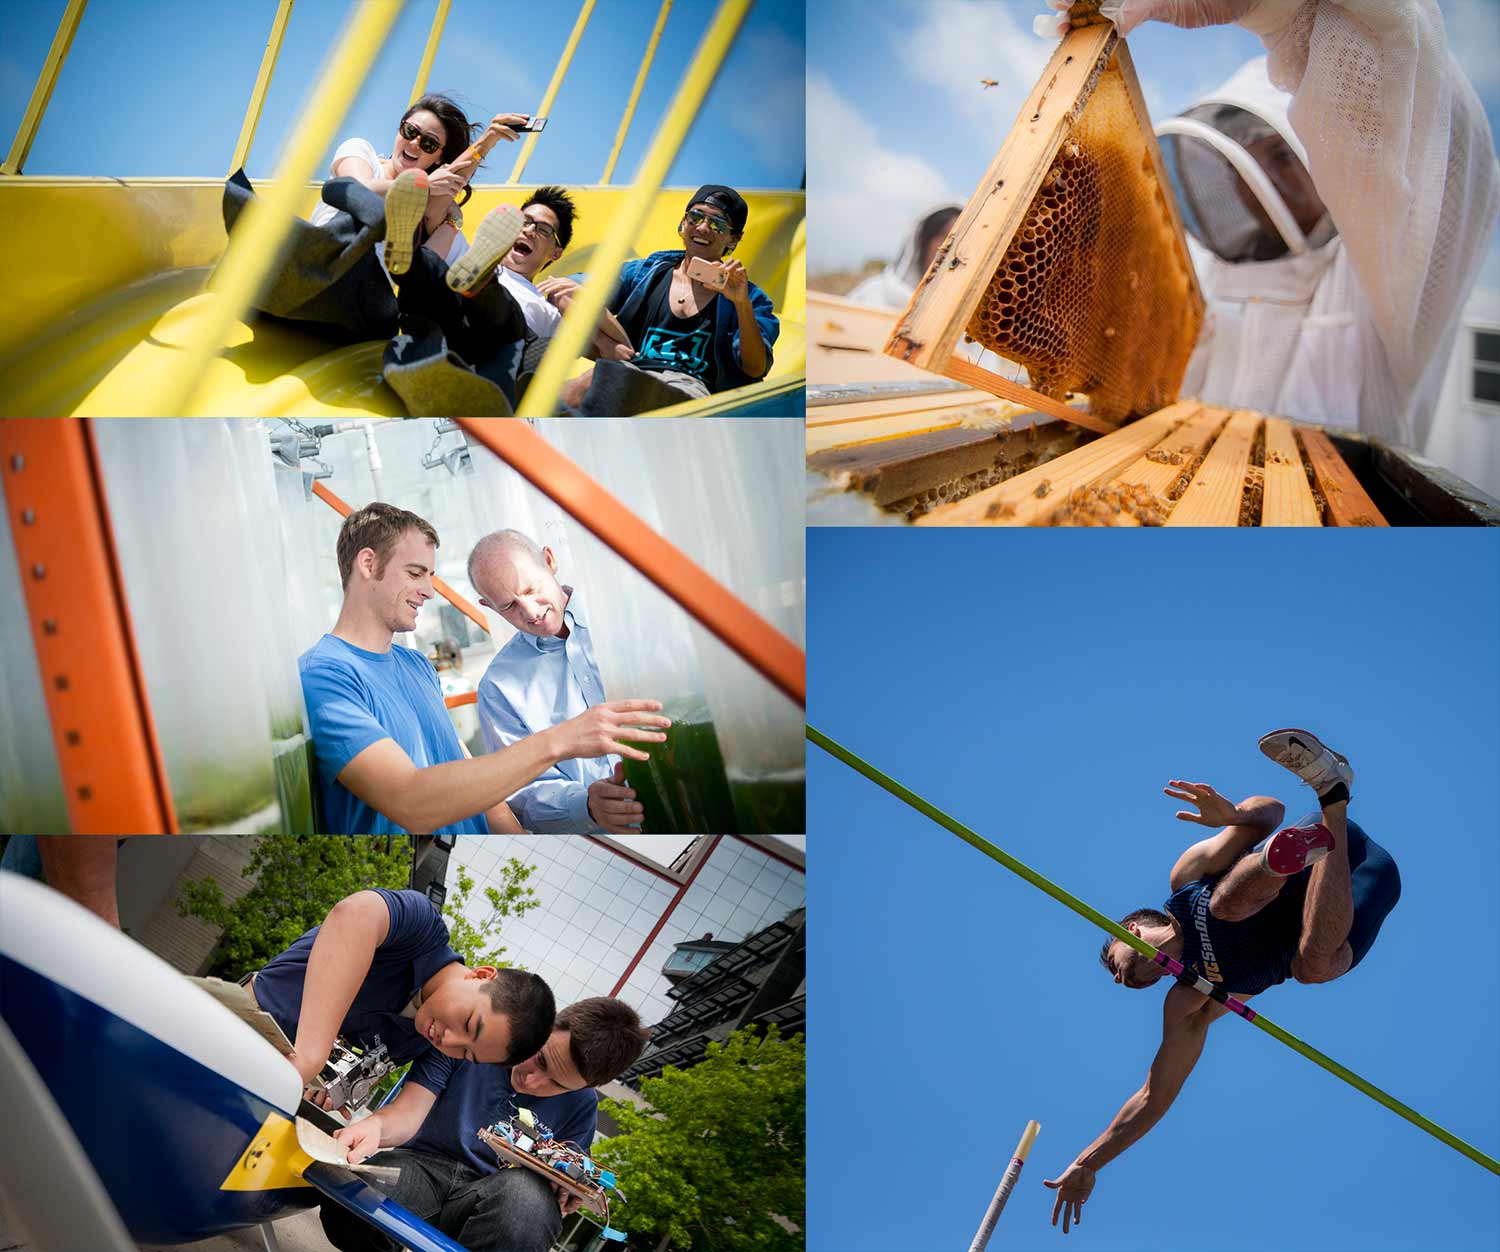
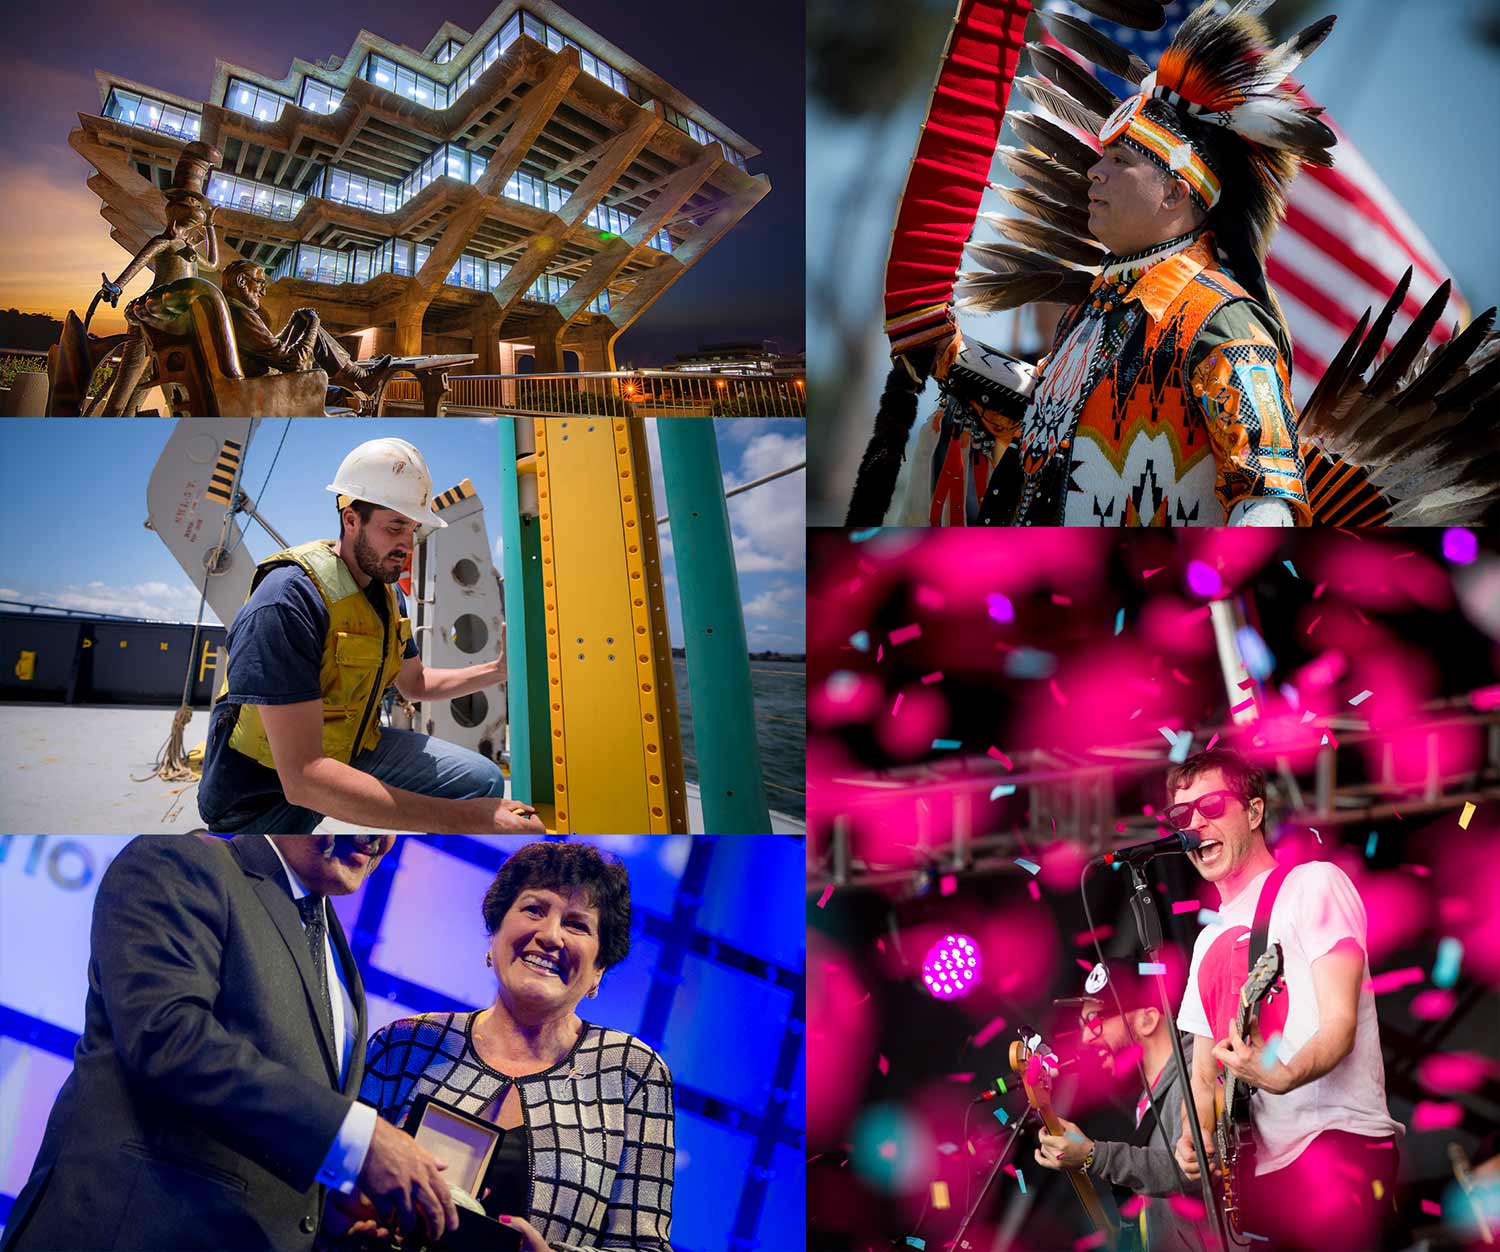
Include a diverse mix of students, faculty and staff comprehensive of various ages, genders, ethnicities and abilities. We want to portray the real UC San Diego and all the people that inhabit it.
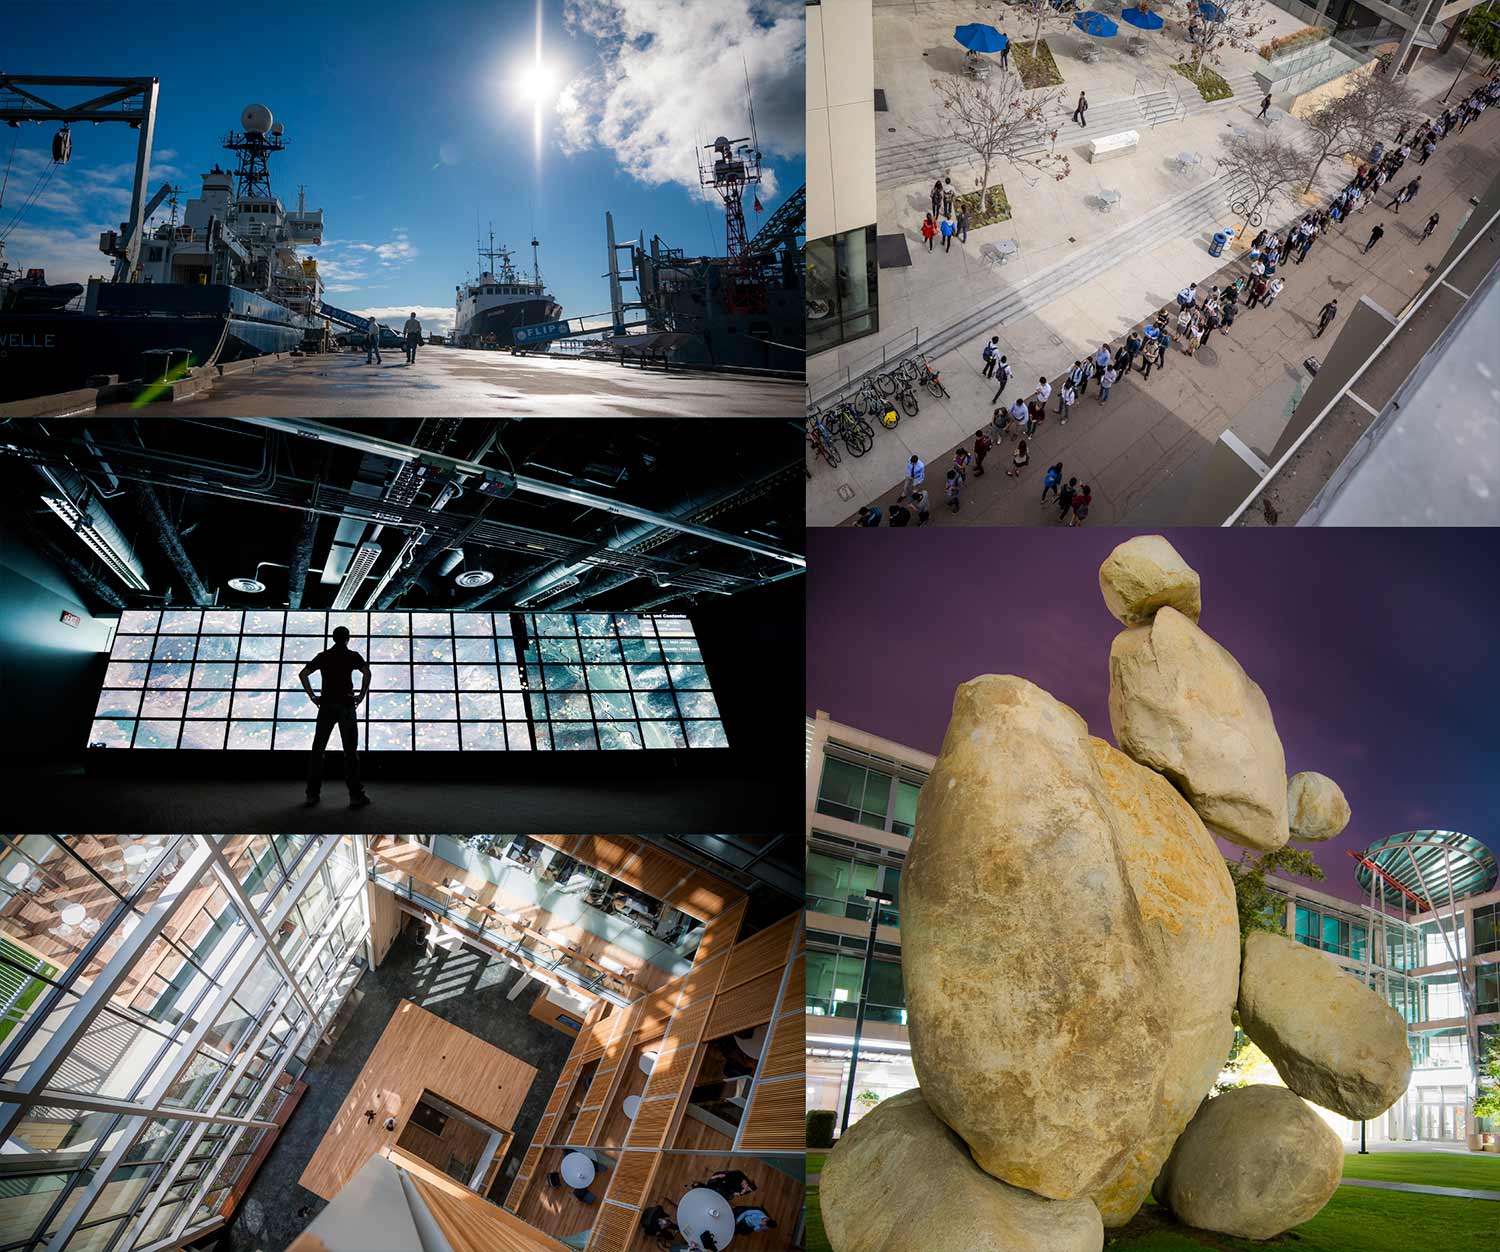
Providing variety in photography creates visual interest. Mix macro and micro examinations of details, portraits of our people and landscapes that give a sense of place.
Through candid in-the-moment shots, we can tell the fuller story of the passion and spirit of UC San Diego, whether its STEM, humanities, student life or research. Be sure that photos selected feel authentic and not staged. Image selection should reflect the entirety of UC San Diego, balancing academics, athletics, community and culture. Seek action shots showing the consequential work being done and group photos embracing collaboration.
We want to tell personal stories but not formal or fabricated ones. When capturing portraits, showcase the subject’s unique personality and avoid anything that feels overly posed. Look for moments of joy and excitement as well as moments of serious introspection and determination.
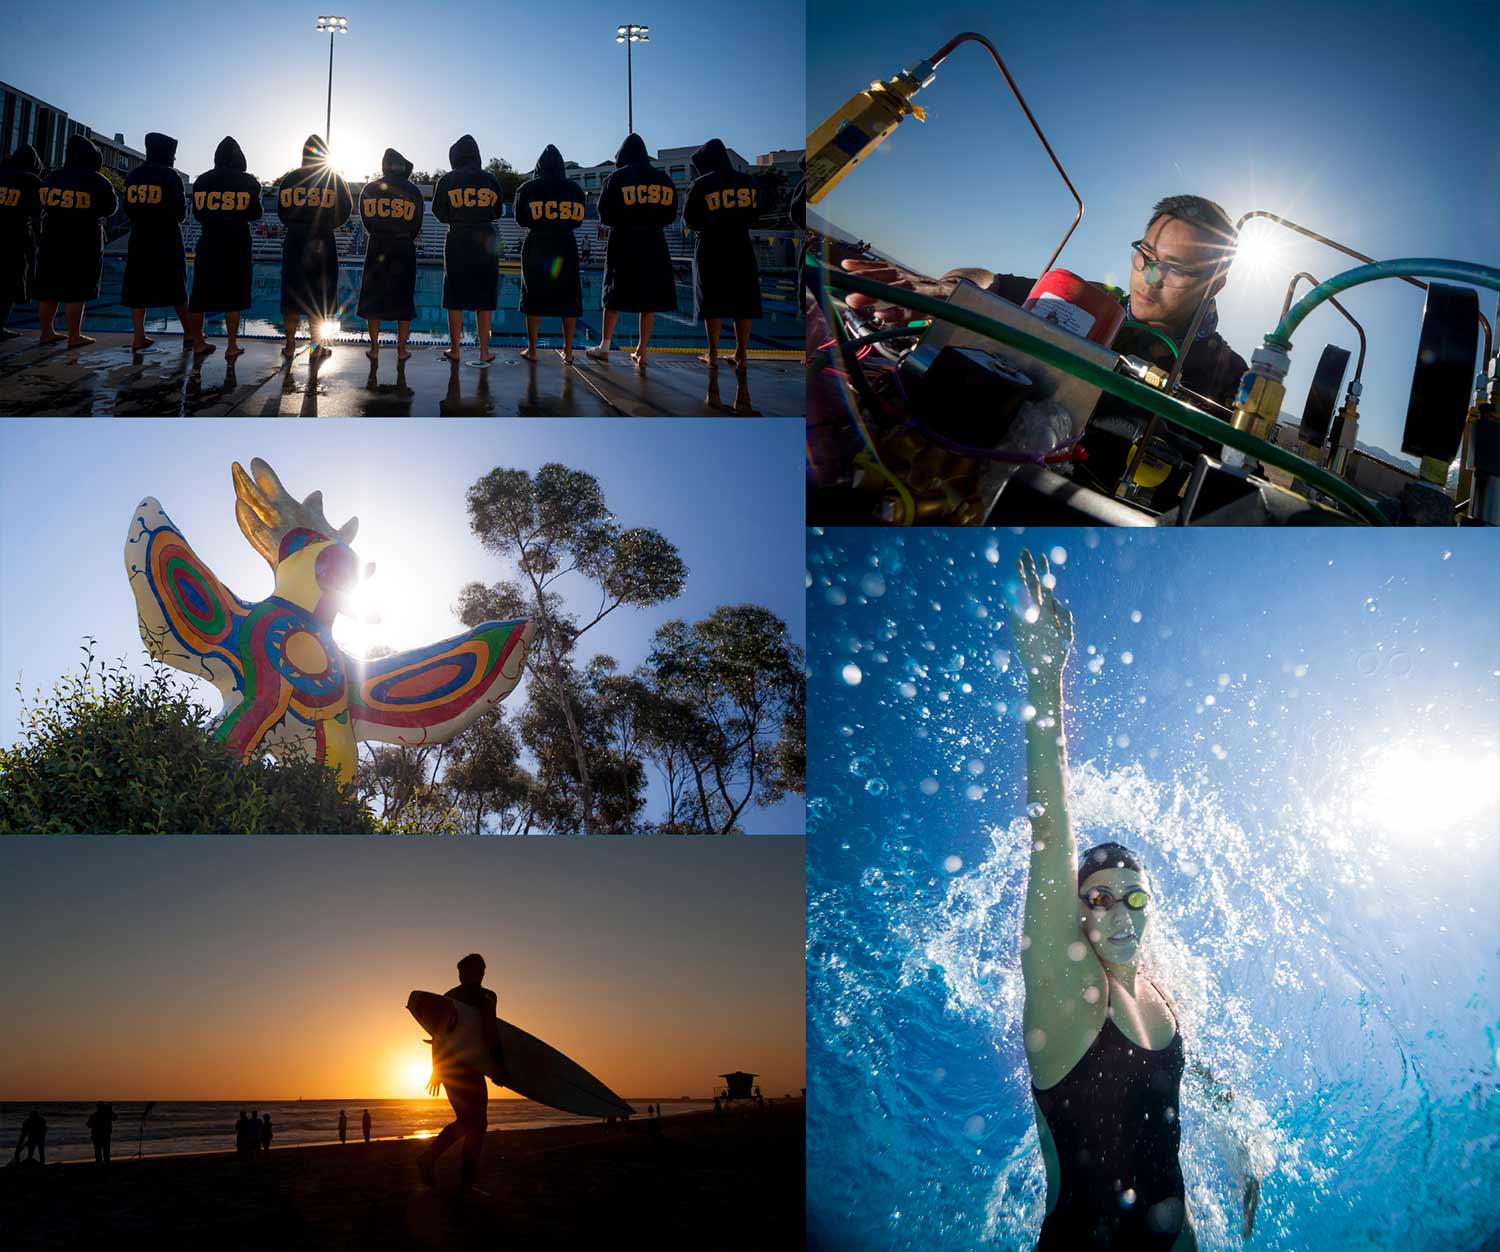
While we want to prioritize photos of people first and foremost, we can use the campus as an entryway into those stories. Wherever possible, capture verité moments — the candid realism of the bustle between buildings, as well as the nooks and unknown angles of the familiar buildings themselves. Additionally, the city, the beach and the entire environment is part of the fuller story of UC San Diego. Whenever the opportunity arises, look to capture the insider world of how San Diegans experience their home: the arts, the culture, the food and the fun of San Diego.
The style of UC San Diego photography allows us to visually bring the brand tone to life. The following tips can ensure that our subjects are being represented as courageous, sincere, consequential, agile and collective.
Angles do more than draw the eye: they symbolize UC San Diego’s upward trajectory, active dexterity to problems and forward momentum. Look for diagonals in photos that create motion throughout photography while still emphasizing the subject.
Detail is at the core of the UC San Diego brand. We capture harmony between subject and background to create polished, yet candid, compositions that represent the collective harmony of the work we do.
UC San Diego is a campus full of individuals who go against the grain and forge their own path. Embrace macro- and micro-photography of textures, campus, people and the world to create the feeling of consequential action.
With a location like San Diego, capturing the radiance of our environment is essential. Use natural lighting as much as possible. Incorporating backlighting in photography provides a captivating nod to the brilliance of our campus while symbolizing the bright futures of our people.
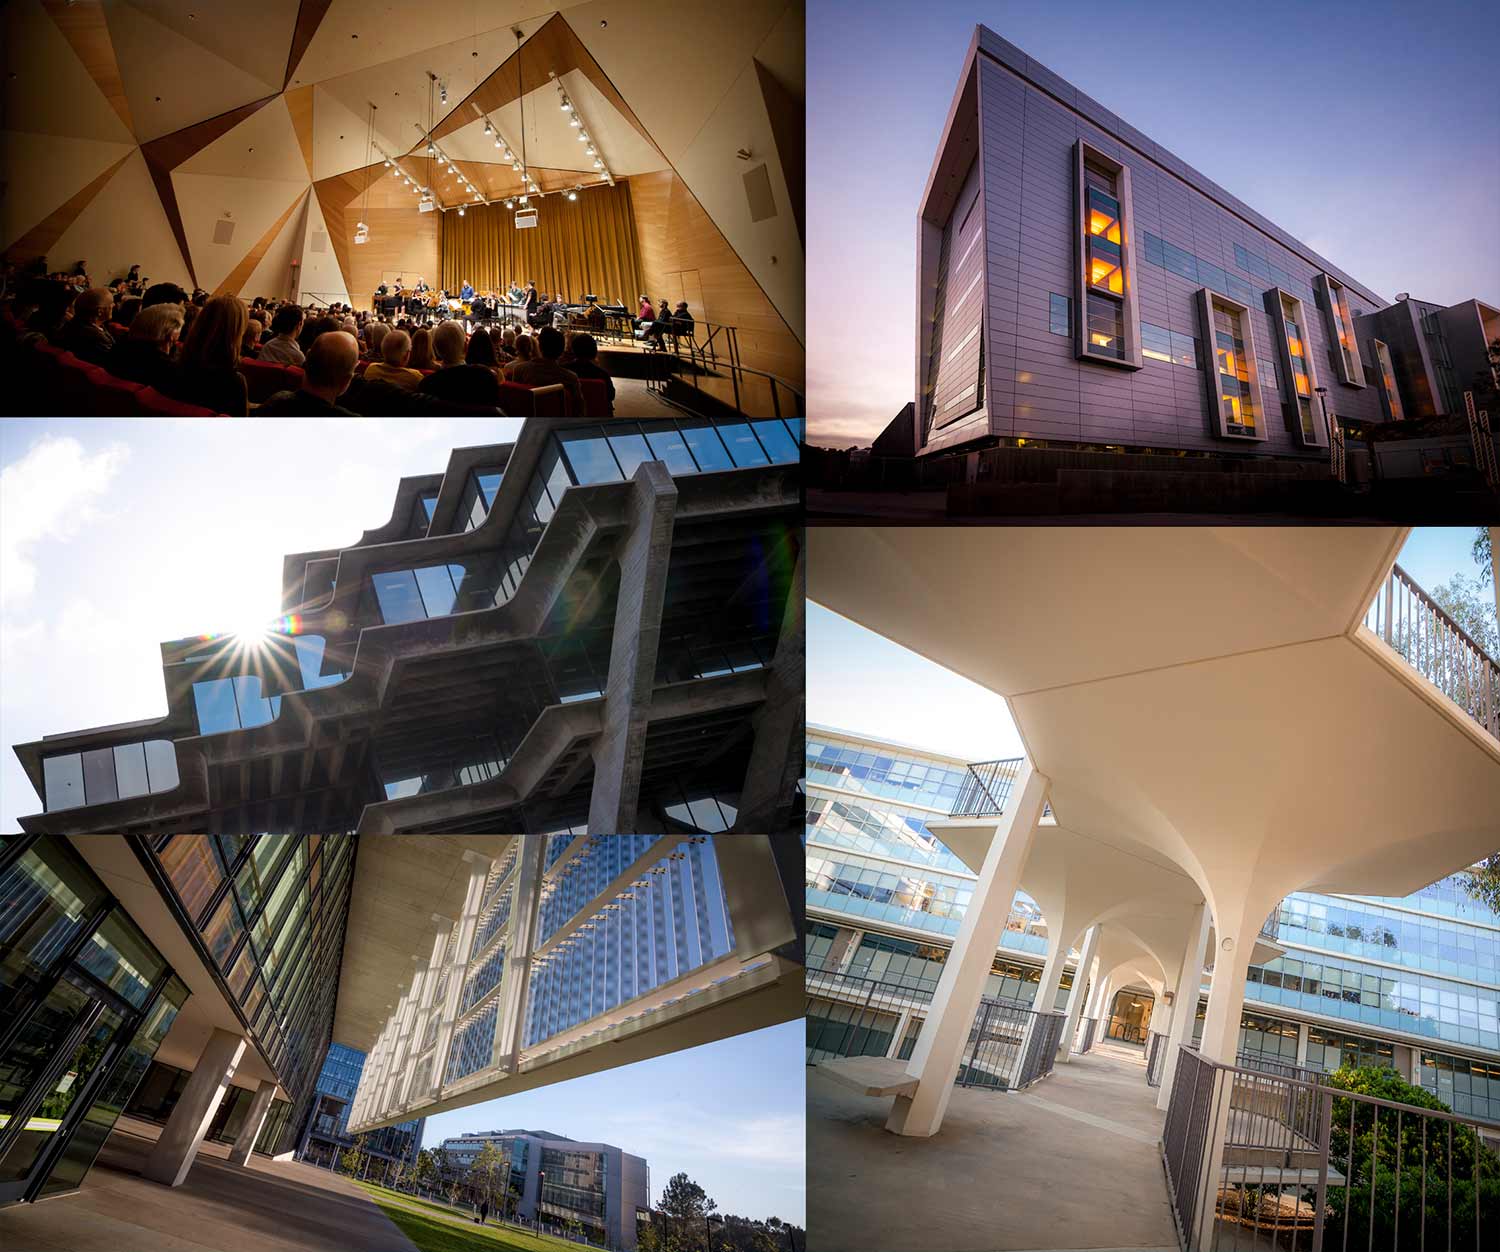
Showcasing our campus in the ultimate light is always the goal. Capture unique architectural perspectives by emphasizing angles, symmetry, scale and non-linear structure to highlight the form and function of locations.
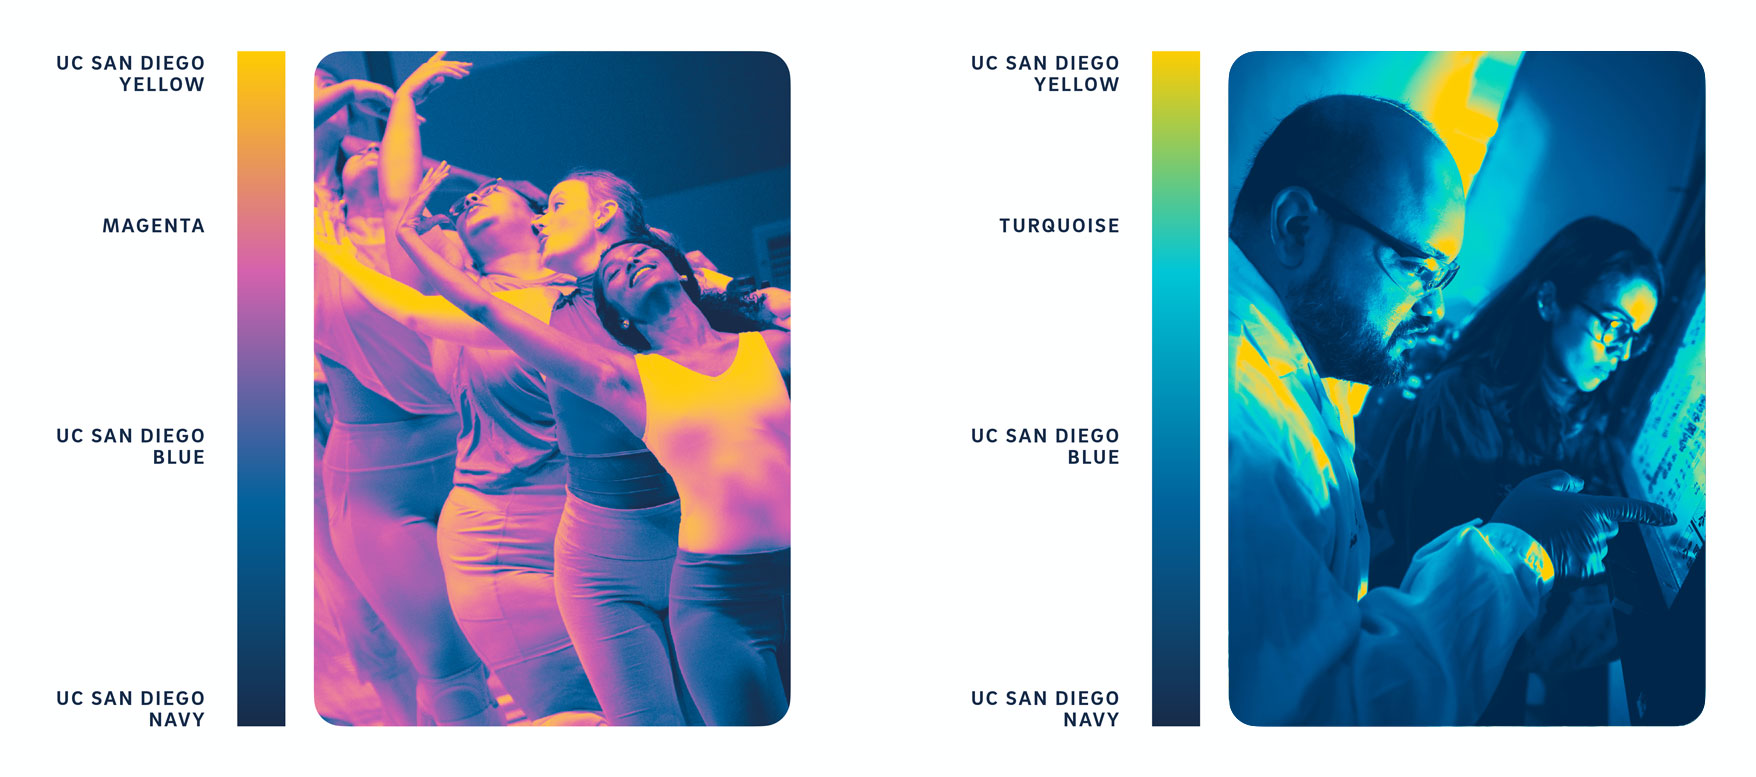
UC San Diego’s gradient mapping effect is a daring element of the brand. Gradient-mapped photography creates the illusion of a different view on images — a view that inspires us to think further about what we can achieve with the work being done at UC San Diego. Gradient mapping can be put into practice in two distinct ways.
In this practice, gradient-mapped images can be situated alongside their original photo to create a seamless transition. This creates the effect of another dimension coming to reality. When using this approach, be sure to keep the subject’s face or any key focal points in the non-gradient-mapped section of the photo.

Using a photo that is completely gradient mapped introduces a new textural moment to layouts and can reflect the bold nature of our community. Ensure any important information in the photography is easily distinguished, if necessary.

There are two gradient overlay options that are recommended for the gradient-mapping effect. These gradients should always be used in these color successions but can be reversed based on the photo application.
While the gradient-mapping effect may look complex, it is simple to achieve. Follow these steps to achieve the ultimate gradient-mapping overlay for photos.